

Zoom








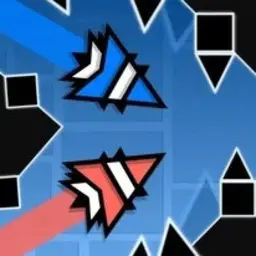





































Geometry Dash Clutterfunk
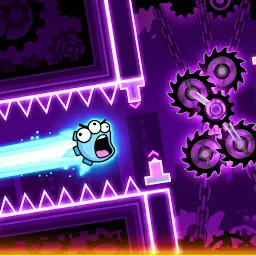
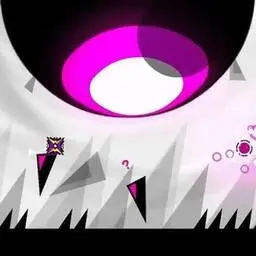
Geometry Dash Clutterfunk is a thrilling Insane level with tricky jumps, gravity shifts, and intense challenges. Master every move and beat this epic stage!
Understand Clutterfunk Before You Start
The level is divided into five major sections: cube, ship, ball, ship, and cube. The early cube section runs from 0% to 29%, followed by a ship section until 36%. The ball continues to 53%, another ship section reaches 67%, and the final cube carries you to 100%.
The size portal is one of the biggest challenges. Small-form gameplay leaves less room for correction, so every jump needs deliberate timing. If you normally rely on last-second reactions, Geometry Dash Clutterfunk quickly exposes that habit.
Build Control in the Opening Cube
Use Rhythm Instead of Panic
From 0% to 14%, focus on recognizing the rhythm of pads and rings in Geometry Dash Clutterfunk. The mirror portal between 4% and 7% can make familiar movement feel reversed, so avoid reacting purely from visual instinct.
Once the size portal appears at 14%, the cube becomes significantly tighter. Tap lightly and watch the next landing before committing to another input. Practicing this section repeatedly is more effective than restarting the entire level after every mistake.
Treat Small Gaps as Timing Tests
The small objects are designed to punish rushed inputs. Think one obstacle ahead and maintain a steady rhythm. This approach is especially useful if you have experience with fast-paced levels such as Geometry Dash Odyssey, where recognizing patterns quickly can be more valuable than raw reaction speed.
Survive the Ship Sections
Stay Centered and Make Small Corrections
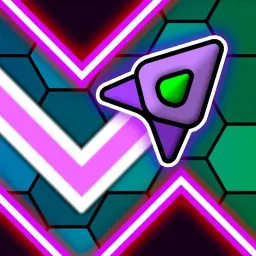
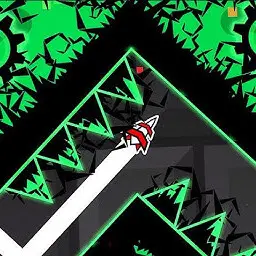
In Geometry Dash Clutterfunk, the first ship section appears from 29% to 36%, including the first secret coin at 31%. The available space is noticeably tighter, so avoid holding too long in either direction.
For the coin, pass beneath the first obstacle, then carefully fly near the ceiling over the fourth and fifth obstacles. The route is narrow, making controlled movement essential.
The second ship section from 53% to 67% is another major precision test. When the ship returns to normal size at 60%, prepare for the changing gravity sequence rather than trying to improvise.
Control the Intense Ball Section
The ball section from 36% to 53% combines the size portal with frequent gravity changes, rings, and timing-based transitions. Instead of tapping continuously, identify each gravity change and treat every ring as a separate decision.
This section rewards consistency. You familiar with Geometry Dash Wave may recognize the same principle: precise input control matters more than frantic movement, even though the gameplay mode is completely different.
Geometry Dash Clutterfunk: Collect All 3 Coins
Coin 2 – 65%
After returning to normal ship size, pass the second gravity portal and deliberately skip the third. Fly over the saw-blade and through the column gap to reach the coin, then pass over another saw-blade to enter the fourth gravity portal.
Coin 3 – 86%
In the final cube section of Geometry Dash Clutterfunk, hit the first two rings and the jump pad, then use the third ring while deliberately missing the fourth. Drop onto the lower platforms and jump continuously to reach the coin before using the gravity ring to return to the main route.
Final Strategy for 100%
The final cube from 67% onward repeatedly changes between normal and small size. Do not memorize it as one long sequence. Break it into short patterns around each size-portal transition.
Geometry Dash Clutterfunk becomes far more manageable when you practice each difficult section independently. Focus on rhythm, controlled inputs, and predictable movement, and the level's apparent chaos gradually turns into a sequence you can read and master.